-
 $1.00
$1.00 -
 $1.00
$1.00 -
 $1.25
$1.25 -
 $1.25
$1.25 -
 $1.25
$1.25 -
 $1.25
$1.25 -
 $1.50
$1.50 -
 $1.25
$1.25 -
 $1.25
$1.25 -
 $1.25
$1.25 -
 $1.25
$1.25 -
 $1.00
$1.00 -
 $1.00
$1.00 -
 $1.00
$1.00 -
 $1.20
$1.20 -
 $1.25
$1.25 -
 $1.50
$1.50 -
 $1.65
$1.65 -
 $1.75
$1.75 -
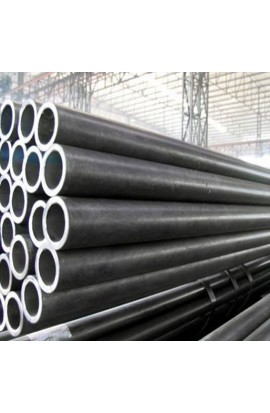
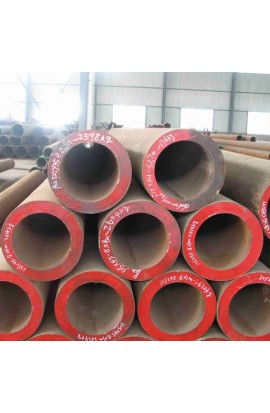
 1 x API 5L X42 Pipe$1.00
 -
 $1.00
$1.00 -
 $1.25
$1.25 -
 $1.25
$1.25 -
 $1.00
$1.00 -
 $1.00
$1.00 -
 $1.00
$1.00 -
 $1.25
$1.25 -
 $1.50
$1.50 -
 $1.65
$1.65 -
 $2.00
$2.00 -
 $2.25
$2.25 -
 $3.00
$3.00 -
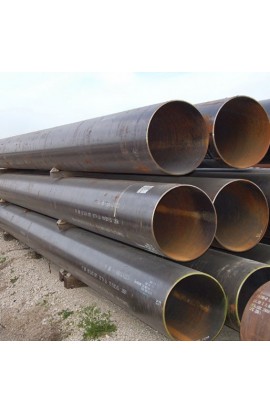
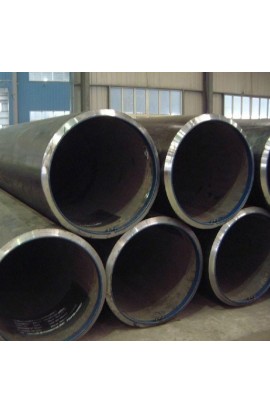
 1 x API 5L DSAW Pipe$1.15
 -
 $1.15
$1.15 -
 $0.00
$0.00 -
 $1.54
$1.54 -
 $1.54
$1.54 -
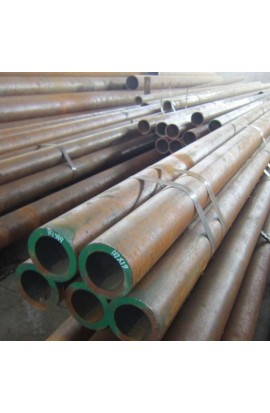
 1 x Chrome Moly Pipe$1.54
No products
Product successfully added to your shopping cart
There are 38 items in your cart. There is 1 item in your cart.
Alloy Steel Pipes
-
Carbon Steel Pipes & Tubes
- ASTM A106 SA106 Pipe
- ASTM A53 SA53 Pipe
- ASTM A135 SA135 Pipe
- ASTM A139 SA139 Pipe
- ASTM A179 SA179 Tubes
- ASTM A210 SA210 Tubes
- ASTM A333 SA333 Pipe
- ASTM A334 SA334 Pipe
- ASTM A500 SA500 Pipe
- ASTM A501 SA501 Pipe
- ASTM A512 SA512 Tube
- ASTM A513 SA513 Tube
- ASTM A517 SA517 Tube
- ASTM A519 SA519 Tube
- ASTM A671 SA671 Pipe
- ASTM A672 SA672 Pipe
- ASTM A252 Steel piling pipe
- Carbon Steel Seamless Pipe
- Carbon Steel Pipe Japan
- Carbon Steel Pipes Europe
- Carbon Steel Pipe China
-
Stainless Steel Pipes & Tubes
- Stainless Steel Tube, Tubing & Pipe
- ASTM A271 ASME SA271 Pipes/ Tubes
- ASTM A312 ASME SA312 Pipes/ Tubes
- ASTM A358 ASME SA358 Pipes/ Tubes
- ASTM A376 ASME SA376 Pipes/ Tubes
- ASTM A409 ASME SA409 Pipes/ Tubes
- ASTM A430 ASME SA430 Pipes/ Tubes
- ASTM A632 ASME SA632 Pipes/ Tubes
- ASTM A778 ASME SA778 Pipes/ Tubes
- ASTM A813 ASME SA813 Pipes/ Tubes
- ASTM A814 ASME SA814 Pipes/ Tubes
- ASTM A826 ASME SA826 Pipes/ Tubes
- ASTM A851 ASME SA851 Pipes/ Tubes
- ASTM A213 ASME SA213 Pipes/ Tubes
- ASTM A249 ASME SA249 Pipes/ Tubes
- ASTM A268 ASME SA268 Pipes/ Tubes
- ASTM A269 ASME SA269 Pipes/ Tubes
- ASTM A270 ASME SA270 Pipes/ Tubes
- ASTM A511 ASME SA511 Pipes/ Tubes
- ASTM A688 ASME SA688 Pipes/ Tubes
-
Alloy Steel Pipes & Tubes
-
Alloy Steel Tubes
- ASTM A213 T1 Alloy Steel Tube
- ASTM A213 T2 Alloy Steel Tube
- ASTM A213 T5 Alloy Steel Tube
- ASTM A213 T5b Alloy Steel Tube
- ASTM A213 T5c Alloy Steel Tube
- ASTM A213 T9 Alloy Steel Tube
- ASTM A213 T11 Alloy Steel Tube manufacturer and suppliers
- ASTM A213 T12 Alloy Steel Tube
- ASTM A213 T17 Alloy Steel Tube
- ASTM A213 T21 Alloy Steel Tube
- ASTM A213 T22 Alloy Steel Tube
- ASTM A213 T23 Alloy Steel Tube
- ASTM A213 T24 Alloy Steel Tube
- ASTM A213 T36 Alloy Steel Tube
- ASTM A213 T91 Alloy Steel Tube
- ASTM A213 T92 Alloy Steel Tube
- ASTM A213 T122 Alloy Steel Tube
- ASTM A213 T911 Alloy Steel Tube
- ASTM A513 Grade 8620 Alloy Steel Tube
- ASTM A513 Grade 4130 Alloy Steel Tube
- ASTM A513 Grade 4118 Alloy Steel Tube
- ASTM A513 Grade 4140 Alloy Steel Tube
- ASTM A513 Grade 8630 Alloy Steel Tube
-
Alloy Steel Pipes
- ASTM A335 P1 Alloy Steel Pipe
- ASTM A335 P2 Alloy Steel Pipe
- ASTM A335 P5 Alloy Steel Pipe
- ASTM A335 P5b Alloy Steel Pipe
- ASTM A335 P5c Alloy Steel Pipe
- ASTM A335 P9 Alloy Steel Pipe
- ASTM A335 P11 Alloy Steel Pipe Manufacturer & Suppliers
- ASTM A335 P12 Alloy Steel Pipe
- ASTM A335 P15 Alloy Steel Pipe
- ASTM A335 P21 Alloy Steel Pipe
- ASTM A335 P22 Alloy Steel Pipe Manufacturer and suppliers
- ASTM A335 P23 Alloy Steel Pipe
- ASTM A335 P24 Alloy Steel Pipe
- ASTM A335 P36 Alloy Steel Pipe
- ASTM A335 P91 Alloy Steel Pipe
- ASTM A335 P92 Alloy Steel Pipe
- ASTM A335 P122 Alloy Steel Pipe
- ASTM A335 P911 Alloy Steel Pipe
- Alloy Steel Pipe & Tube Specification
-
Alloy Steel Tubes
- Special Steel Grades Pipes & Tubes
- API 5L Pipe
- Titanium Pipes & Tubes
- Welded/ ERW Pipes
- Mild Steel Pipes & Tubes
- Ductile Iron Spun Pipe & Ductile Iron Flanged Pipe Cast
- Capillary Tube| Capillary Tubing
- Boiler Tube
- Heat exchanger tubes
- Cupro Nickel Tube
- Aluminium Tube
- Corten Steel Pipes & Tubes
- EIL Approved Pipes
- IBR Pipe/ Tube & Non IBR Pipe/ Tube
- Black Pipes
- Galvanised Steel Pipes/ GI Tubes
- SS Coiled Tubing/ Tubes
- SS Electropolished Pipes/ Tubes
- SS Rectangular Pipes/ Tubes
- SS Square Pipes/ Tubes
- Full comparison of the DIN and EN standards for pipes/tubes
- Stainless Steel Pipe grades comparison


Surplus stock of Steel Pipes & Tubes:
Specialist in:
Offering best price on:
Widest inventory of:
SS,CS,Alloy Steel Pipe Prices
- » Steel Pipe/ Tube Price Iran
- » Steel Pipe/ Tube Price USA
- » Steel Pipe/ Tube Price India
- » Steel Pipe/ Tube Price China
- » Steel Pipe/ Tube Price Indonesia
- » Steel Pipe/ Tube Price UK
- » Steel Pipe/ Tube Price UAE
- » Steel Pipe/ Tube Price Malaysia
- » Steel Pipe/ Tube Price Singapore
- » Steel Pipe/ Tube Price South Korea
- » Steel Pipe/ Tube Price Saudi Arabia
- » Steel Pipe/ Tube Price Japan
- » Steel Pipe/ Tube Price Thailand
- » Steel Pipe/ Tube Price Bangladesh
- » Steel Pipe/ Tube Price Canada
- » Steel Pipe/ Tube Price Germany
- » Steel Pipe/ Tube Price Australia
- » Steel Pipe/ Tube Price Nigeria
- » Steel Pipe/ Tube Price Iraq
- » Steel Pipe/ Tube Price Turkey
- » Steel Pipe/ Tube Price Brazil
- » Steel Pipe/ Tube Price Vietnam
- » Steel Pipe/ Tube Price South Africa
- » Steel Pipe/ Tube Price Egypt
- » Steel Pipe/ Tube Price Bahrain
- » Steel Pipe/ Tube Price France
- » Steel Pipe/ Tube Price Mexico
- » Steel Pipe/ Tube Price Netherlands
- » Steel Pipe/ Tube Price Taiwan
- » Steel Pipe/ Tube Price Spain
- » Steel Pipe/ Tube Price Philippines
- » Steel Pipe/ Tube Price Pakistan
- » Steel Pipe/ Tube Price Kuwait
- » Steel Pipe/ Tube Price Norway
- » Steel Pipe/ Tube Price Oman
- » Steel Pipe/ Tube Price Qatar
- » Steel Pipe/ Tube Price Russia
- » Steel Pipe/ Tube Price Slovakia
- » Steel Pipe/ Tube Price Poland
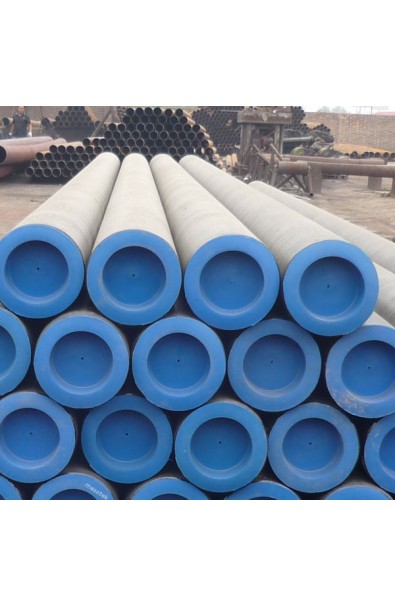 View larger
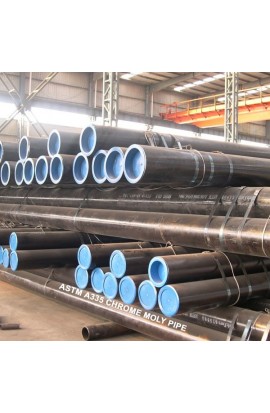
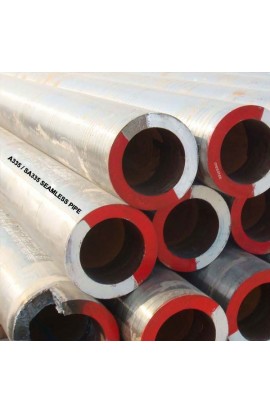
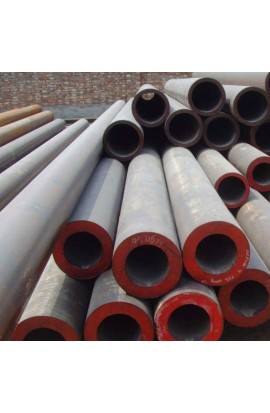
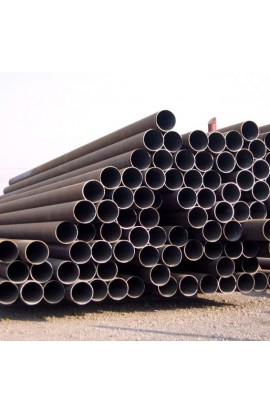
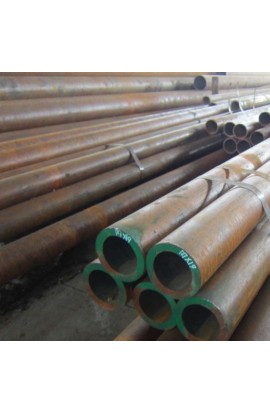
A335 Pipe
Other Trade name: A335 PIPE, A/SA335, ASTM A335 pipe, P5, P9, P11, and P22
Calculate Your Pipe Weight
(It will open in new window)
New
More info
A335 PIPE SPECIFICATIONS
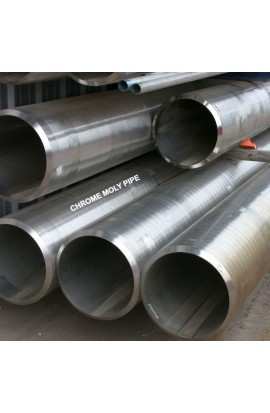
A/SA335 Chrome Moly Pipe
Are you looking for a vendor for all your A335 / SA335 Piping needs? MD Exports LLP Pipes is a premier worldwide supplier of A335 / SA335 Pipe
A/SA335
NPS 1/4" – 24"
Schedules 40 through 160, STD, XH and XXH
A335 Pipe Scope
This specification covers nominal wall and minimum wall seamless ferritic alloy-steel pipe intended for high-temperature service. ASTM A335 pipe ordered to this specification shall be suitable for fusion welding, bending, flanging (vanstoning), and similar forming operations.
Material & Manufacture
A335 Pipe may be either hot finished or cold drawn with the finishing heat treatment noted below.
A335 Pipe Heat Treatment Requirements
| P5, P9, P11, and P22 | |||
|---|---|---|---|
| Grade | Heat Treatment Type | Normalizing Temperature Range F [C] | Subcritical Annealing or Tempering Temperature Range F [C] |
| P5 (b,c) | Full or Isothermal Anneal | ||
| Normalize and Temper | ***** | 1250 [675] | |
| Subcritical Anneal (P5c only) | ***** | 1325 – 1375 [715 – 745] | |
| P9 | Full or Isothermal Anneal | ||
| Normalize and Temper | ***** | 1250 [675] | |
| P11 | Full or Isothermal Anneal | ||
| Normalize and Temper | ***** | 1200 [650] | |
| P22 | Full or Isothermal Anneal | ||
| Normalize and Temper | ***** | 1250 [675] | |
| P91 | Normalize and Temper | 1900-1975 [1040 – 1080] | 1350-1470 [730 – 800] |
| Quench and Temper | 1900-1975 [1040 – 1080] | 1350-1470 [730 – 800] |
A335 Pipe Chemical Requirements
| Grade | P-5 | P-9 | P-11 | P-22 | P-91 | P-91 shall also include the following: | |
|---|---|---|---|---|---|---|---|
| Element | UNS Designation | K41545 | S50400 | K11597 | K21590 | K91560 | |
| Carbon | 0.15 max | 0.15 max | 0.05 – 0.15 | 0.05 – 0.15 | 0.08 – 0.12 | V at 0.18 – 0.25 | |
| Manganese | 0.30 – 0.60 | 0.30 – 0.60 | 0.30 – 0.60 | 0.30 – 0.60 | 0.30 – 0.60 | N at 0.030 – 0.070 | |
| Phosphorous, max | 0.025 | 0.025 | 0.025 | 0.025 | 0.020 | Ni at 0.40 max | |
| Sulfur, max | 0.025 | 0.025 | 0.025 | 0.025 | 0.010 | Al at 0.02 max | |
| Silicon | 0.50 max | 0.25 – 1.00 | 0.50 – 1.00 | 0.50 max | 0.20 -0.50 | Cb at 0.06 – 0.10 | |
| Chromium | 4.00 – 6.00 | 8.00 – 10.00 | 1.00 – 1.50 | 1.90 – 2.60 | 8.00 – 9.50 | Ti at 0.01 max | |
| Molybdenum | 0.45 -0.65 | 0.90 – 1.10 | 0.44 – 0.65 | 0.87 – 1.13 | 0.85 – 1.05 | Zr at 0.01 max |
A335 Pipe Tensile Requirements
| Seamless | ||||||||
| P-5 | P-9 | P-11 | P-22 | P-91 | P91 shall not have a hardness not exceeding 250 HB/265 HV [25HRC]. | |||
| Tensile Strength, min., psi | ||||||||
| ksi | 60 | 60 | 60 | 60 | 85 | |||
| MPa | 415 | 415 | 415 | 415 | 585 | |||
| Yield Strength, min., psi | ||||||||
| ksi | 30 | 30 | 30 | 30 | 60 | |||
| MPa | 205 | 205 | 205 | 205 | 415 | |||
A335 Pipe Permissible Variation in Wall Thickness
| NPS [DN] Designator | Tolerance, % from Specified | |||
| Over | Under | |||
| 1/8 to 2 1/2 [6 to 65] incl., all t/D ratios | 20.0% | 12.5% | ||
| Above 2 1/2 [65], t/D < or = 5% | 22.5% | 12.5% | ||
| Above 2 1/2 [65], t/D > 5% | 15.0% | 12.5% | ||
| (t = Specified Wall Thickness; D = Specified Outside Diameter) | ||||
A335 Pipe Elongation Requirements
| Calculated Minimum Elongation Values | |||||
| Elongation in 2 in. or 50 mm, min % | |||||
| Wall Thickness | P5, P9, P11, P22 | P91 | |||
| in. | mm | Longitudinal | Transverse | Longitudinal | |
| 5/16 (0.312) | 8 | 30 | 20 | 20 | |
| 9/32 (0.281) | 7.2 | 28 | 19 | 19 | |
| 1/4 (0.250) | 6.4 | 27 | 18 | 18 | |
| 7/32 (0.219) | 5.6 | 26 | 17 | ||
| 3/16 (0.188) | 4.8 | 24 | 16 | ||
| 5/32 (0.156) | 4 | 22 | 15 | ||
| 7/8 (0.125) | 3.2 | 21 | 14 | ||
| 3/32 (0.094) | 2.4 | 20 | 13 | ||
| 1/18 (0.062) | 1.6 | 18 | 12 | ||
Permissible Variations in Outside Diameter
Outside Diameter at any point shall not vary from standard specified more than:
| NPS [DN] Designator | Over | Under | ||
| in. | mm | in. | mm | |
| 1/8 to 1 1/2 [6 to 40], incl. | 1/64 (0.015) | 0.40 | 1/64 (0.015) | 0.40 |
| Over 1 1/2 to 4 [40 to 100], incl. | 1/32 (0.031) | 0.79 | 1/32 (0.031) | 0.79 |
| Over 4 to 8 [100 to 200], incl. | 1/16 (0.062) | 1.59 | 1/32 (0.031) | 0.79 |
| Over 8 to 12 [200 to 300], incl. | 3/32 (0.093) | 2.38 | 1/32 (0.031) | 0.79 |
| Over 12 [300] | +/- 1% of the specified outside diameter | |||
Mechanical Tests Specified
| Transverse or Longitudinal Tension Test and Flattening Test, Hardness Test, or Bend Test | ||||||||
| For material heat treated in a batch-type furnace, tests shall be made on 5% of the pipe from each treated lot. For small lots, at least one pipe shall be tested. | ||||||||
| For material heat treated by the continuous process, tests shall be made on a sufficient number of pipe to constitute 5% of the lot, but in no case less than 2 pipe. | ||||||||
| Notes for Hardness Test: | P91 shall not have a hardness not exceeding 250 HB/265 HV [25HRC]. | |||||||
| Notes for Bend Test: | For pipe whose diameter exceeds NPS 25 and whose diameter to wall thickness ratio is 7.0 or less shall be subjected to the bend test instead of the flattening test. | |||||||
| Other pipe whose diameter equals or exceeds NPS 10 may be given the bend test in place of the flattening test subject to the approval of the purchaser. | ||||||||
| The bend test specimens shall be bent at room temperature through 180 without cracking on the outside of the bent portion. | ||||||||
| The inside diameter of the bend shall be 1 inch [25 mm]. | ||||||||
| Hydrostatic Test | Each length of pipe shall be Hydro tested, at option of manufacture, nondestructive electric testing can be used. | |||||||
Required Markings on Each Length
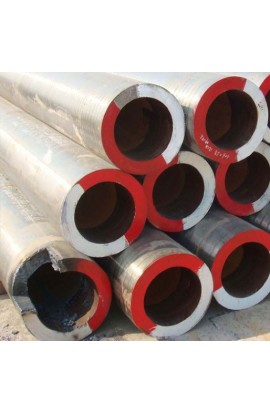
(On Tags attached to each Bundle in case of Bundled Pipe) Markings will adhere to prescribed specifications in A 999/A999M and be: Rolled, Stamped, or Stenciled (Mfrs. Option)
| In addition, markings will include: | ||||||||||||||||||||||||||
| Length of pipe |
|
|||||||||||||||||||||||||
| Schedule Number | ||||||||||||||||||||||||||
| Heat Number or Manufacturer’s number by which heat can be identified | ||||||||||||||||||||||||||
| An Additional Symbol “S” if the pipe conforms to any Supplementary Requirements | ||||||||||||||||||||||||||
| S1 – Product Analysis | ||||||||||||||||||||||||||
| S2 – Transverse Tension Test | ||||||||||||||||||||||||||
| S3 – Flattening Test | ||||||||||||||||||||||||||
| S4 – Metal Structure and Etching Tests | ||||||||||||||||||||||||||
| S5 – Photomicrographs | ||||||||||||||||||||||||||
| S6 – Photomicrographs for Individual Pieces | ||||||||||||||||||||||||||
| S7 – Alternative Heat Treatment – Grade P91 | ||||||||||||||||||||||||||
| Pipe that has been weld repaired shall be marked “WR”. | ||||||||||||||||||||||||||
A335 Pipe Reference Documents
- ASTM A999/A 999M Specification for General requirements for Alloy and Stainless Steel Pipe.
- ASTM E 213 Practice for Ultrasonic Examination of metal Pipe and Tubing
- ASTM E 309 Practice for Eddy-Current Examination of Steel Tubular Products Using Magnetic Saturation
- ASTM E 381 Method of Macroetch testing Steel Bars, Billets, Blooms, and Forgings
- ASTM E 570 Practice for Flux Leakage Examination of Ferromagnetic Steel Tubular Products
- ASME B26.10M Welded and Seamless Wrought Steel Pipe
Ordering Information
Orders for material under this specification should include the following, as required, to describe the desired material adequately:
| Quantity | Feet, meters, or number of lengths |
|---|---|
| Name of material | Seamless Alloy Steel Pipe |
| Grade | P5, P9, P11, P22, P91 |
| Manufacturer | Hot-finished or cold-drawn |
| Size using one of the following: | |
| NPS and Schedule Number | |
| Outside Diameter and Nominal Wall Thickness | |
| Outside Diameter and Minimum Wall Thickness | |
| Inside Diameter and Nominal Wall Thickness | |
| Inside Diameter and Minimum Wall Thickness | |
| Length | Specific or Random |
| End Finish | |
A335 Pipe Marking & Packaging
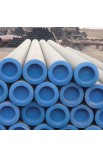
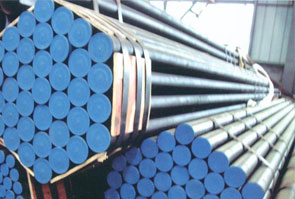
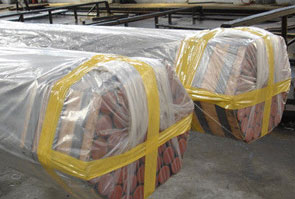
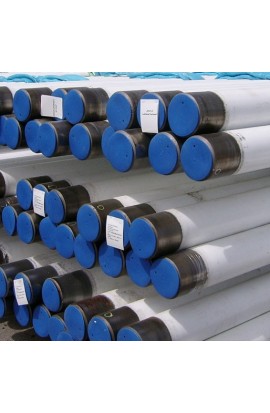
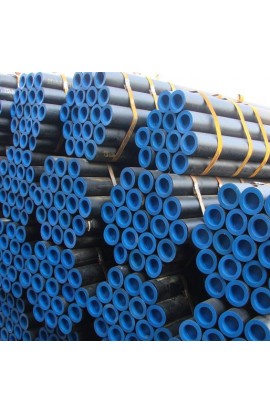
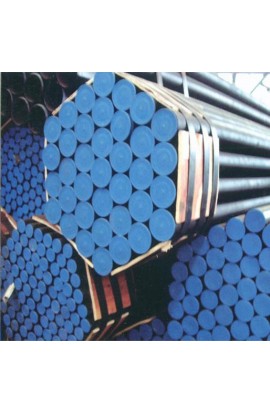
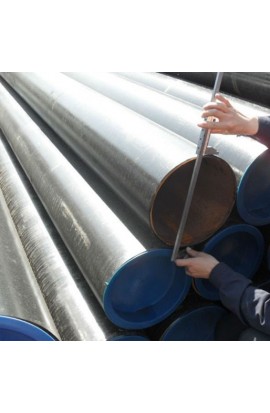
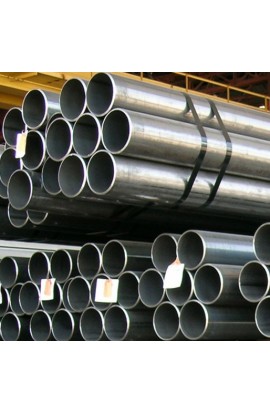
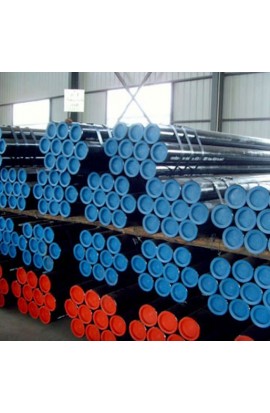
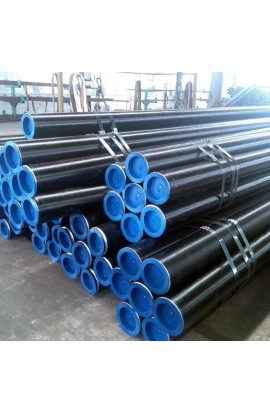
SEA WORTHY PACKING: Hexagonal shaper bundled with strong steel strips. Plastic caps on both of the pipes. Other types of packing can be made according to the customer's requirements
|
A335 Pipe packed in MD Exports LLP's stockyard |
A335 Pipe packed for shipping |
(Note: Please refer to the specific Standard or Specification or contact us for more details.)
Reviews
No customer comments for the moment.
Summary
- Product Name:A335 Pipe
- Price: $ 1.54
- Product Width: 0.00 cm
- Product Height: 0.00 cm
- Product Depth: 0.00 cm
- Product Weight: 0.00 kg
- Description: Other Trade name: A335 PIPE, A/SA335, ASTM A335 pipe, P5, P9, P11, and P22 Calculate Your Pipe Weight (It will open in new window)


